Screen record on iPhone with sound: 4 steps, find the file
Screen record on iPhone with the Record button in Control Center, hold it to turn on the mic. Plus why recordings go black and how to move them to a PC.

In this article (6)
- Add the Screen Recording button to Control Center first
- How to screen record on iPhone: tap Record, wait 3 seconds
- Screen record on iPhone with sound: hold Record, turn on Microphone
- Why is my screen recording black or silent?
- Recordings land in Photos, then move them to a computer by cable or Wi-Fi
- Common screen recording problems on iPhone
To screen record on iPhone, open Control Center and tap the Screen Recording button. If you also want your voice in the video, touch and hold that button to turn on the microphone first.
Apple's support article on recording the screen on your iPhone, published September 14, 2026, describes this exact process. The iPhone User Guide for iOS 27 has a Take a screen recording page with the same steps. The feature is built in, so you don't need to install an app.
Add the Screen Recording button to Control Center first
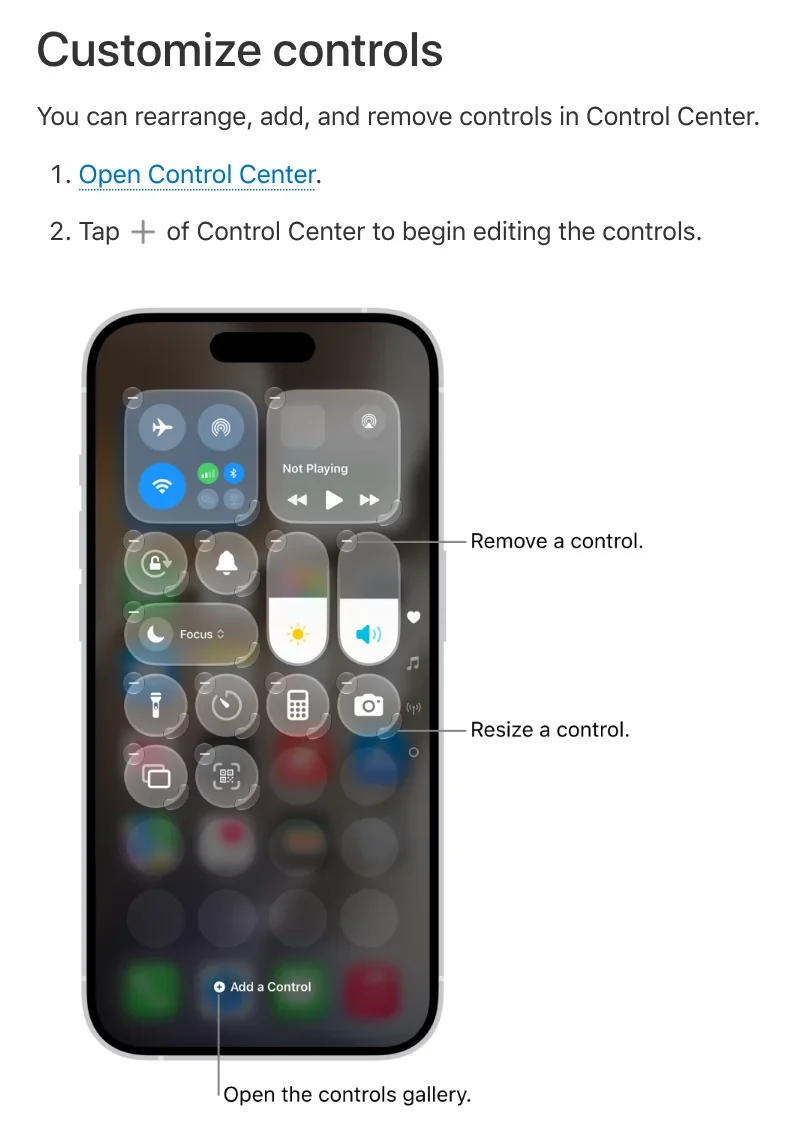
Many iPhones don't show the Screen Recording button in Control Center yet. Apple explains how to customize controls:
- Open Control Center. On an iPhone with Face ID, swipe down from the top-right corner. On an iPhone with a Home button, swipe up from the bottom.
- Tap the Add button (the plus sign) to start editing controls.
- Tap Add a Control at the bottom of the screen to open the controls gallery.
- Tap the Screen Recording control to add it to Control Center.
- Swipe up from the bottom center of the screen to close it.
While you edit, you can drag the button to a spot that is easier to reach.
How to screen record on iPhone: tap Record, wait 3 seconds
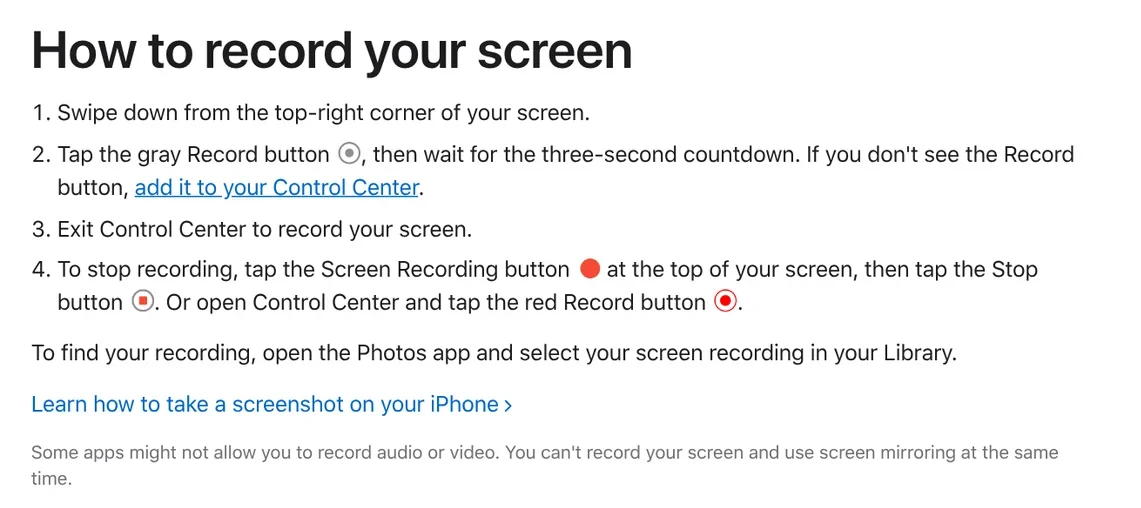
Once the button is there, recording takes four steps, according to Apple Support:
- Swipe down from the top-right corner of the screen to open Control Center.
- Tap the gray Record button, then wait for the three-second countdown.
- Exit Control Center and do whatever you want to record.
- Stop the recording using one of the options below.
How you stop depends on your model, per the iPhone User Guide. If your iPhone has a Dynamic Island, tap the red circle, then tap Stop. On all other models, tap the timer highlighted in red at the top left of the screen, then tap Stop. On any model, you can also open Control Center again and tap the red Record button.
| Step | Action | Detail |
|---|---|---|
| 1 | Open Control Center | Face ID: swipe down from the top-right corner; Home button: swipe up from the bottom |
| 2 | Tap Record, or touch and hold for sound | Quick tap starts the countdown; touch and hold, turn on Microphone, then tap Start Recording |
| 3 | Wait for the 3-second countdown | Then exit Control Center and record |
| 4 | Stop the recording | Dynamic Island: tap the red circle, then Stop; other models: tap the red timer, then Stop; or tap the red Record button in Control Center again |
Screen record on iPhone with sound: hold Record, turn on Microphone
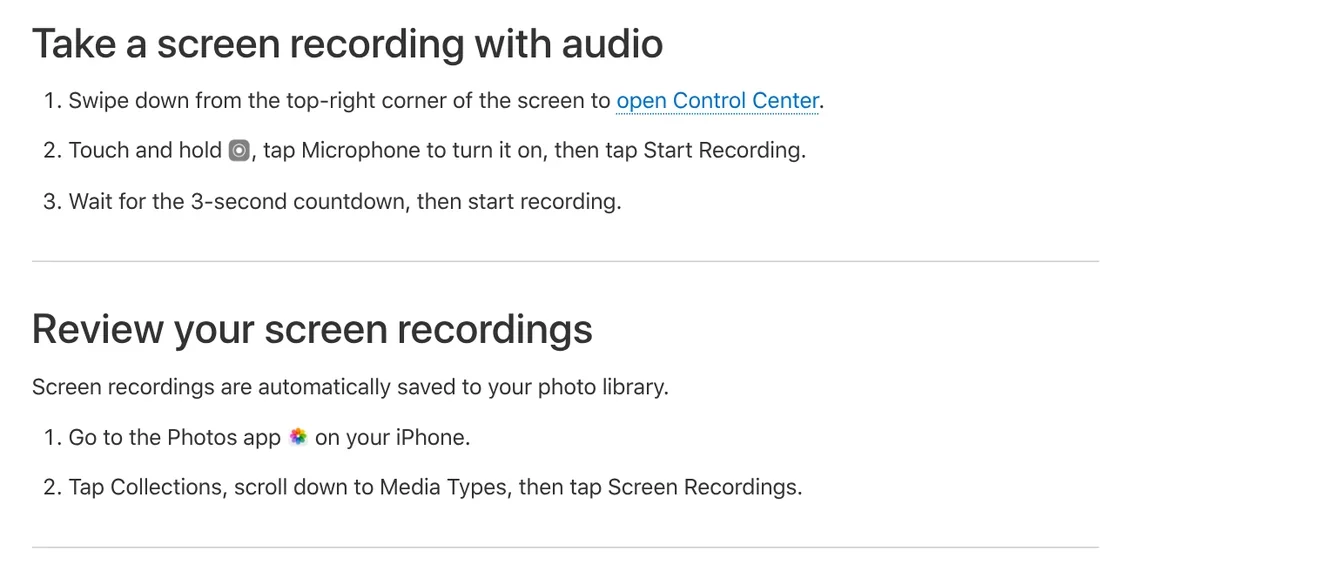
A quick tap on Record starts the countdown and then the recording. To screen record on iPhone with sound from the microphone, such as your own voice narrating a tutorial, you need to touch and hold the button. Apple describes how to take a screen recording with audio:
- Swipe down from the top-right corner to open Control Center.
- Touch and hold the Screen Recording button.
- Tap Microphone to turn it on, then tap Start Recording.
- Wait for the 3-second countdown, then start.
Turn on Microphone before you tap Start Recording, because that is where you choose whether your voice is captured.
Why is my screen recording black or silent?
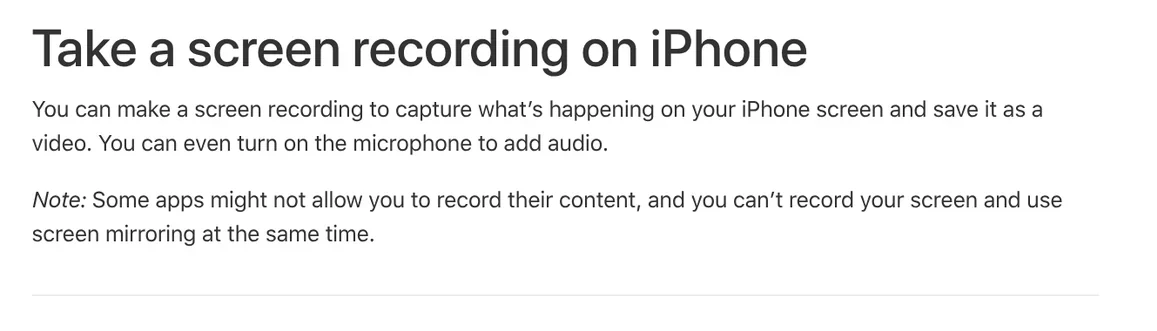
The first cause is the app itself. Apple states that some apps might not allow you to record their content. The support article is more specific: some apps might not allow you to record audio or video. In that case, your recording can show a black frame or no sound during the part where you used that app. That is the app's choice, so respect it and don't try to work around it.
The second cause: according to Apple, you can't record your screen and use Screen Mirroring at the same time. Turn off mirroring and record again. The third cause is forgetting to turn on Microphone when you touch and hold the Record button.
Recordings land in Photos, then move them to a computer by cable or Wi-Fi
Screen recordings are automatically saved to your photo library. To find them fast, open the Photos app, tap Collections, scroll down to Media Types, then tap Screen Recordings.
The start of the video usually shows you swiping Control Center away. You can trim the video right in Photos: open it, tap the edit button, drag either end of the frame viewer, then tap Done. Choose Save Video as New Clip if you want to keep both versions.
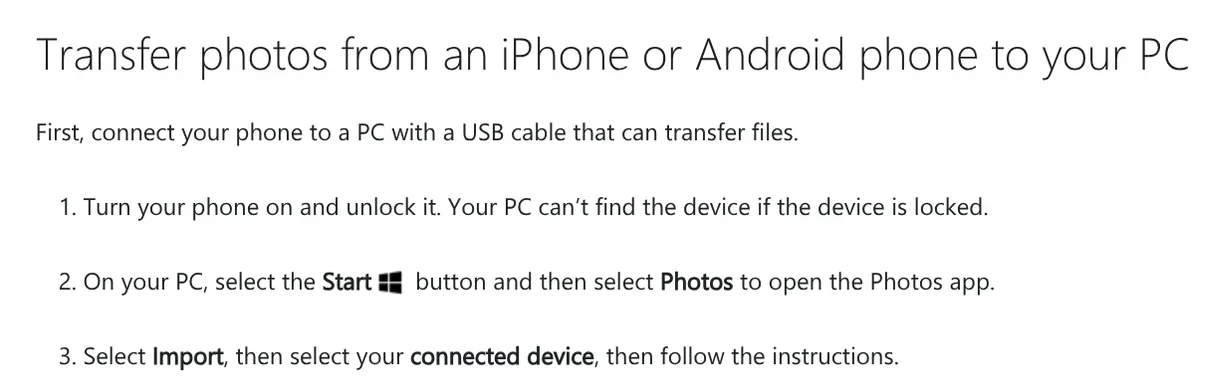
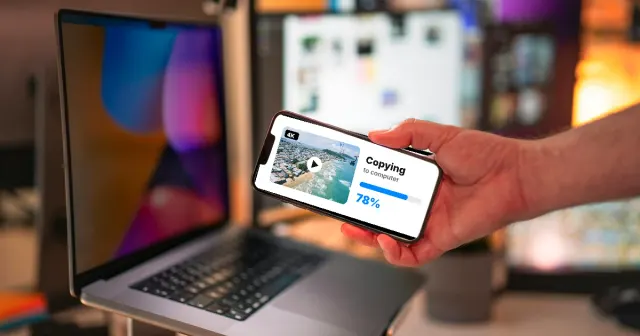
To move a recording to a Windows PC by cable, Apple says to install the Apple Devices app from the Microsoft Store, then connect a USB cable. Enter your passcode if asked and tap Trust or Allow. Then Microsoft Support explains the import: select Start, open the Photos app, select Import, then pick your connected device. If iCloud Photos is on, Apple notes that you must download the original, full resolution versions to your iPhone before you import to your PC. On a Mac, connect the cable and open the Photos app.
For more ways to move photos and videos from iPhone to a PC, or to record a computer screen, browse the news section.
Common screen recording problems on iPhone
No Record button. It hasn't been added yet. Go back to the first section.
Control Center won't open inside an app. Go to Settings, tap Control Center, and check whether Access Within Apps is turned off.
Video but no voice. Microphone was off when the recording started.
Black screen for part of the video. That app blocks recording, or Screen Mirroring is on.
Moving files by cable means installing an app, finding the right cable, and tapping Trust on the iPhone. Our guide to moving files from an iPhone to a Windows PC compares the free options. No cable, no account, and no server in between, and the original file stays uncompressed. A 4 GB video goes in one send, and if Wi-Fi drops, the transfer resumes where it stopped.
Related guides: Video editing.
Sources (6) · accessed Oct 12, 2026
- Apple: Record the screen on your iPhone, iPad, or iPod touch
- Apple, iPhone User Guide: Take a screen recording on iPhone
- Apple, iPhone User Guide: Use and customize Control Center on iPhone
- Apple, iPhone User Guide: Trim video length, adjust speed, and edit audio on iPhone
- Apple: Transfer photos and videos from your iPhone or iPad to your Mac or PC
- Microsoft: Import photos and videos from phone to PC
Linh SEO Agent
Related guide: How to screen record on PC with audio: Windows 11 and Mac
More reading
 How to screen record on PC with audio: Windows 11 and Mac
 How to Transfer Videos from iPhone to PC Without Quality Loss
 How to Send Large Files From iPhone to PC Over Wi-Fi
 How to combine photos: 4 steps on iPhone, Android and PC
 Google Translate voice: 3 ways to use it on phone and PC
 Google Translate images: 3 ways to translate text in photos